When we decided to take our family on a backpacking trip this past summer, we knew we'd need to pack as light and as small as we could. One of us would be carrying a child carrier with minimal space for extras, and the other would carry everything else. We were inspired by the folks over at We Found Adventure, who pack everything they need for a family of four into two child backpack carriers (they are a great resource, make sure to check them out). If they could do it with two carriers and two kids, certainly we could do it with one!

The biggest question for us in terms of both weight and space was sleeping arrangements. Before this trip, we had never quite figured out a good sleeping arrangement for our little one. He's an active sleeper, and a tiny person sleeping bag wasn't something he would ever put up with. We did some research and asked around, and I learned that some families use one big down sleeping quilt instead of individual sleeping bags. Down is nice because it packs into a small space and weighs very little. This set-up is basically a quilt over everyone and sleeping pads underneath for insulation. We were intrigued (and immediately wondered why we hadn't done this when it was just the two of us!).
A quick look revealed a $500 price tag for the size and warmth we needed. I'm sure the professional quilts are very well made and warm, but we just couldn't rationalize spending that kind of money. Getting outside doesn't have to be expensive. So, we designed and made our own.
Our homemade quilt kept our family of three warm on 40 degree nights, it packed down to less than the size of one of our sleeping bags, and weighed just over 2 lbs. A win all around. If/when we make another at some point, there are some design elements that we will change. We're not going to write up a step-by-step tutorial here, as we'd like to perfect our design and process first. But... here's how a down quilt is constructed, and the general process that we used to make our own.
Materials:

- Ripstop fabric, downproof, for top and bottom of quilt
- Goose down (specific amount depends on size and desired warmth)
- Sewing machine (nothing fancy needed. Our machine is decades old and did the job)
- 100% polyester thread
- Netting for baffle construction
- Thin cordelette for accessory loops if desired
Design:
There are many ways to go here. You can make a big flat quilt, or add some sort of footbox. And, if adding a footbox, there are a few ways to do that as well. I won't go into those details here; there are tons of resources if you Google "DIY ultralight backpacking quilt." Videos, blog posts, etc.
We decided keep it simple with a big, rectangular quilt. We added loops on the sides designed to string webbing underneath our sleeping pads for draft prevention. In retrospect, we wished we had also added a simple, foldover footbox to tuck our feet into.
The dimensions of our quilt are for two tall adults and a toddler. The finished quilt measured A x B (in use, we would have liked about a foot more in width to drape between us and help keep out drafts on the sides). We chose a 2.5 in. loft to get us a 20F rated quilt. The dimensions of the quilt plus desired loft together helped us to calculate how much down to order for fill (formulas for that exist online as well).

Down quilts can be constructed in a few different ways. Basically, chambers hold the down in place so that loft is preserved evenly throughout. The warmth of the quilt doesn't come from the down itself, but from the air that's trapped between the top and bottom layers of the quilt. Down feathers hold those layers apart, creating an insulating layer of air. More loft means that there is more space between the top and bottom layers of the quilt, and a thicker pocket of air makes the quilt warmer. Because of that, when constructing a down quilt it's important not to sew the top and bottom layers together (except at the edges), because that will create a line in the quilt with no loft, and therefore no insulating properties.
The solution? A strip of mesh (a baffle) the thickness of the desired loft is sewn to the top and then the bottom of the quilt, creating a wall inside the quilt that holds down in place. This preserves the loft even where the baffles are sewn. Pretty clever, huh? This was the trickiest part of the construction, but it really wasn't bad. No advanced sewing skills needed, just a bit of brainspace (not a project for when the toddler was awake).
With all of that in mind and LOTS of internet research and video watching, we designed our quilt. We chose a karo design for our baffles, meaning that instead of several discrete chambers, we created chambers with some spaces in between for the down to distribute around the whole quilt (while mostly staying in place). This meant we only had to stuff it once and sew it up, and then we could distribute the down by hand after that.
Construction:

Cutting netting for the baffles.
1. Cut out the top and bottom pieces. We laid our ripstop nylon down on the floor, put weights on it, measured it out (adding very safe 1" seam allowances), and marked the material with sidewalk chalk (hey, you use what you have, right?). Once we had one side cut, we just laid it on top of the uncut piece and used the first as a template to cut the second.
2. Cut baffle material. We cut strips out of netting that were 6" long by 3.5" wide (allowing for 1/2" seam allowance on both top and bottom). This created a 2.5" loft.

Marking baffle placement
3. Mark baffle placement on both top and bottom pieces of quilt. The baffles are sewn in before the edges of the quilt are sewn together.
4. Sew baffles to top of quilt.
5. Go back and sew baffles to the bottom piece. This part requires concentration to make sure things are lining up correctly.
6. Once baffles are in, sew around the outside of the quilt leaving an opening (or openings if creating individual chambers) for the down to go in.

The trickiest part.... sewing in the baffles!
7. Stuff your quilt with down and sew it up.
8. Shake, shake, shake to distribute the down evenly around the quilt. We found that a toddler helper was great for this part.
*Voila!* An ultralight, down backpacking quilt. Ours isn't perfect, but we were amazed to see that designing and making our own down quilt wasn't actually difficult. We saved hundreds of dollars and the quilt will last for years to come.
Design changes that we'll implement for next time:
- 3" loft
- overstuff 20%, not 10% (we're probably going to open ours up and add more down)
- add footbox
- add extra down channels along sides for more draft protection
- make quilt longer to come up around neck more
- add width for more drape around shoulders and sides
Did it work?

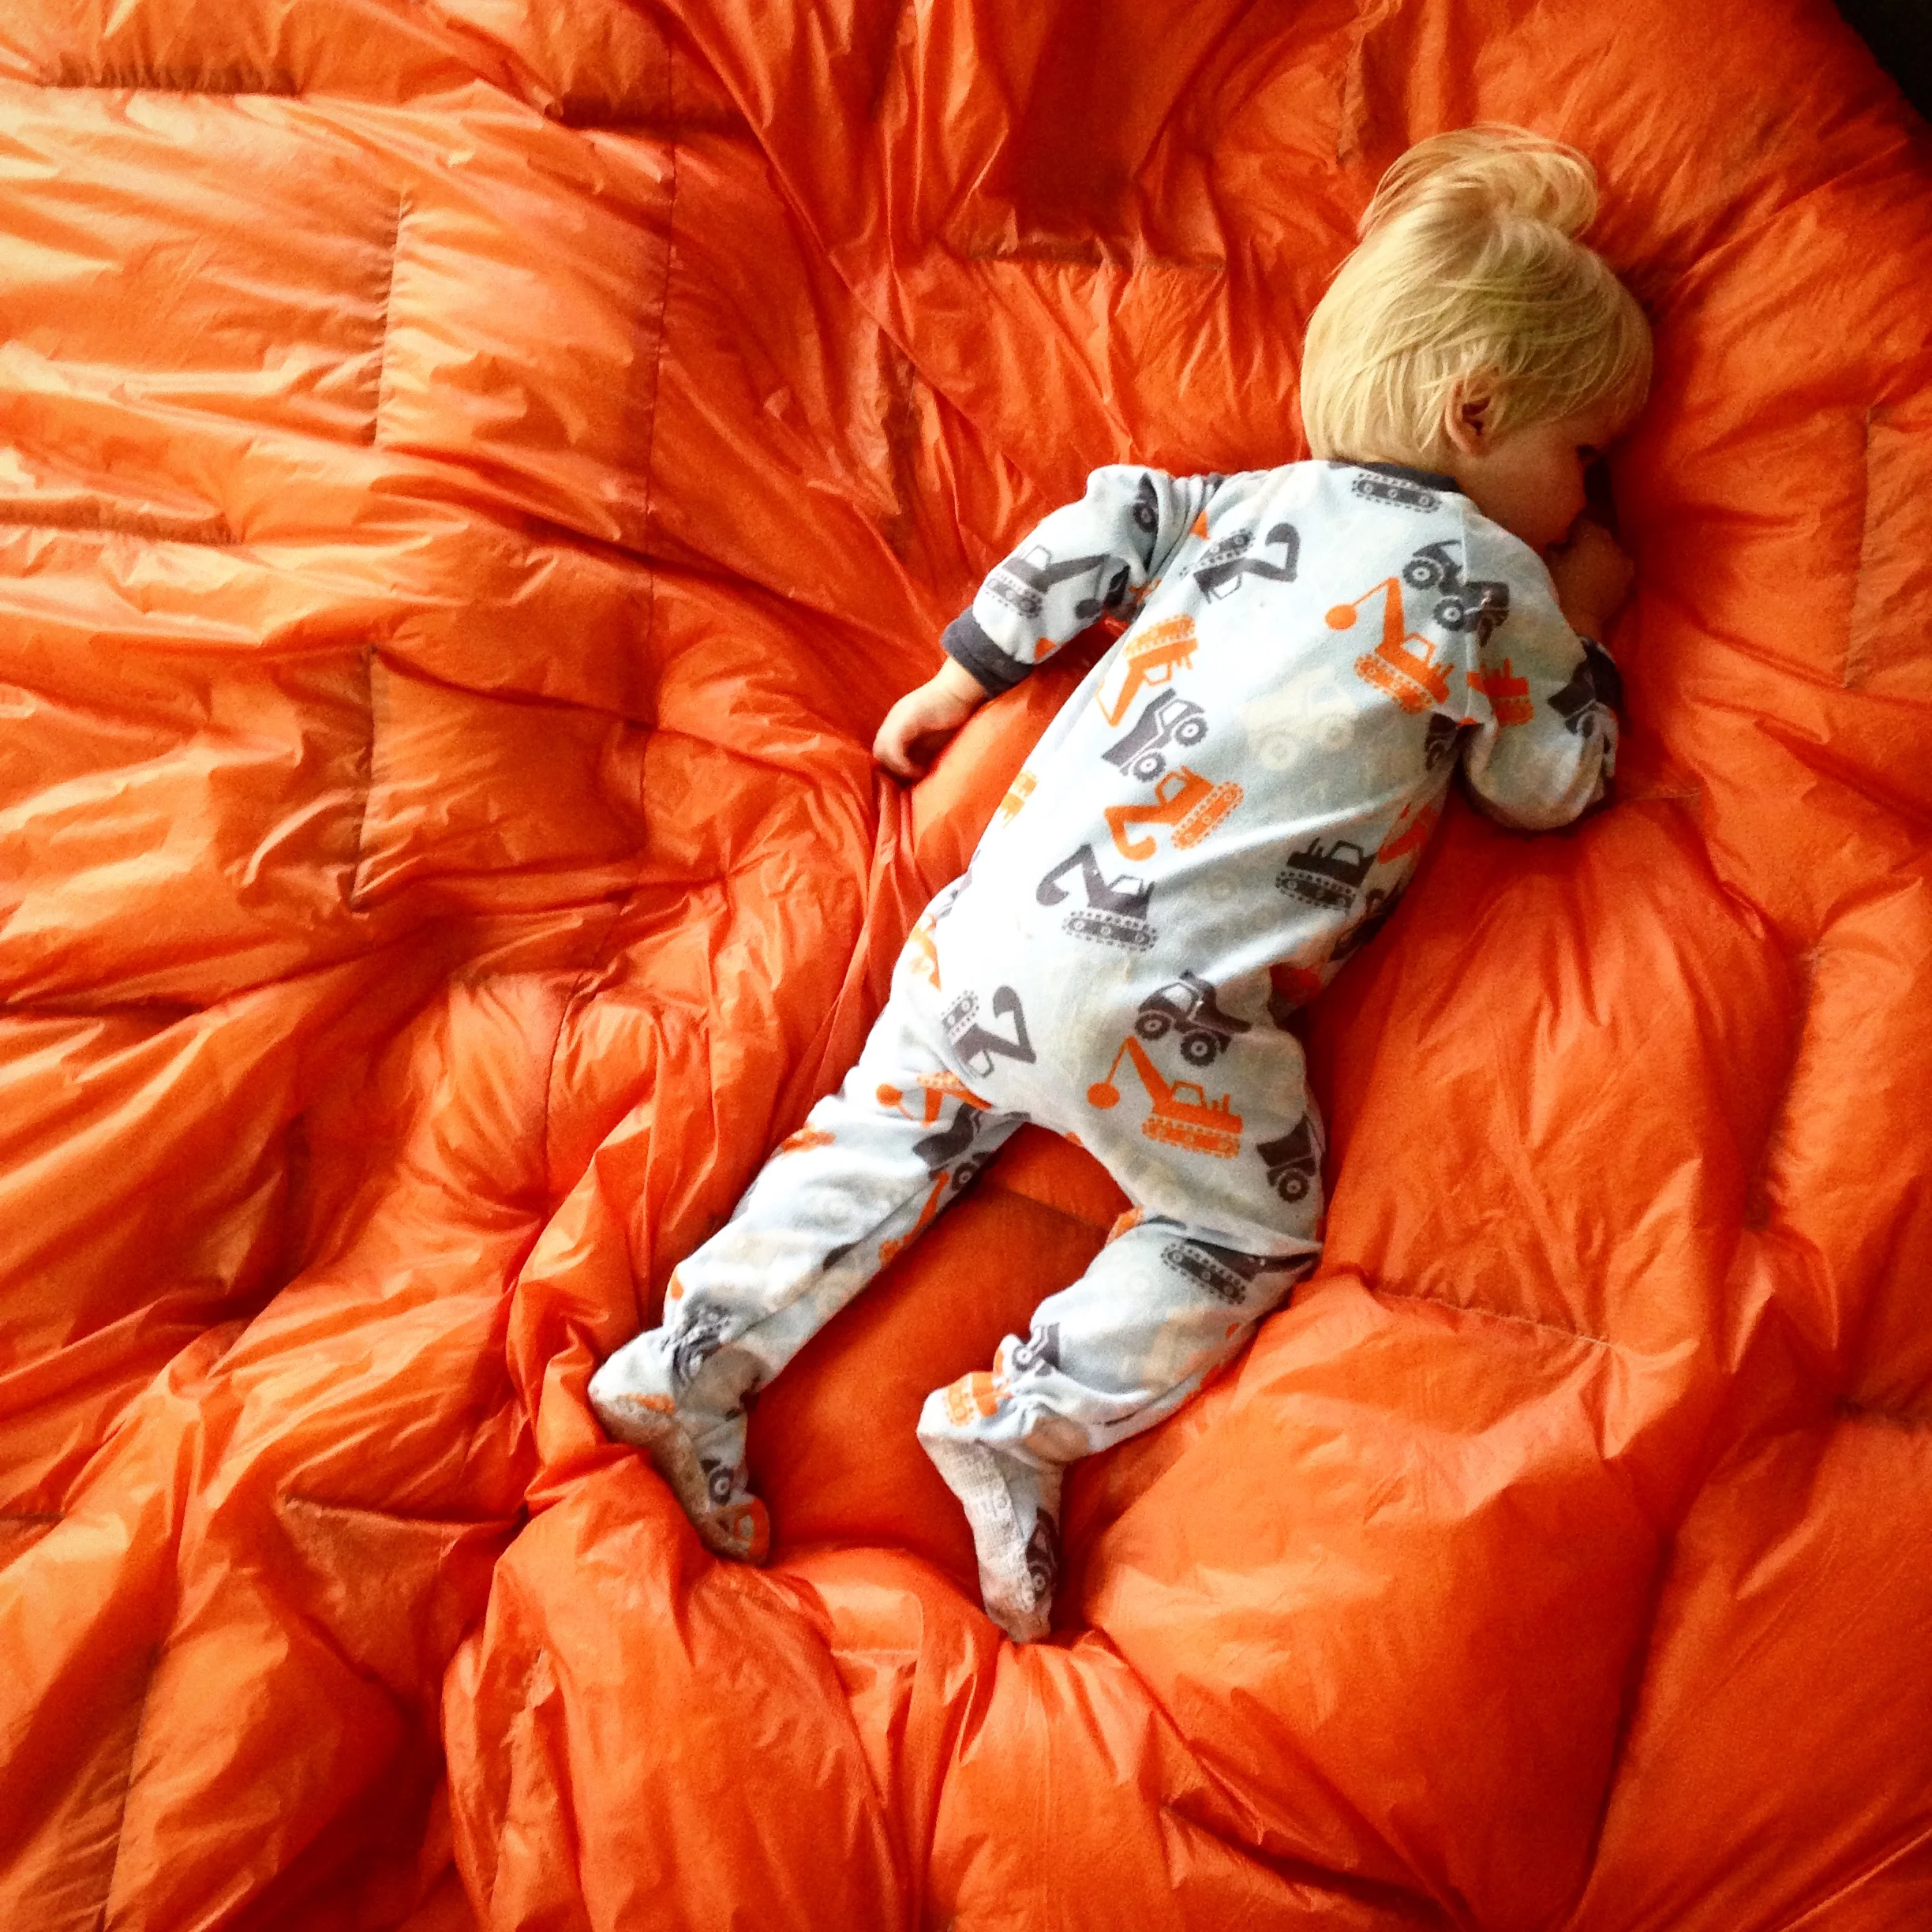
Yes! We took our finished quilt with us as we drove west, testing it along the way to really make sure it would do the job. Then, the quilt joined us in the mountains on a 6 day, 5 night backpacking trip in Montana (trip report here). Temperatures consistently dropped into the upper 30s Fahrenheit each night. With a few layers on, we all stayed warm, except for the occasional draft. We saved a couple hundred dollars over buying a finished quilt, and although it's not perfect or catalog-worthy, we felt a lot of pride in using a piece of gear that we designed and made ourselves.
Yay.
Have you ever made your own outdoor gear? We'd love to hear about it!